Sealing Hairline Stucco Cracks Yourself: When It Works
Some stucco cracks are a genuine Saturday job with a five dollar tube. Others will cost you money if you fill them. Here is how to tell which one you have, and how the season decides your prep.
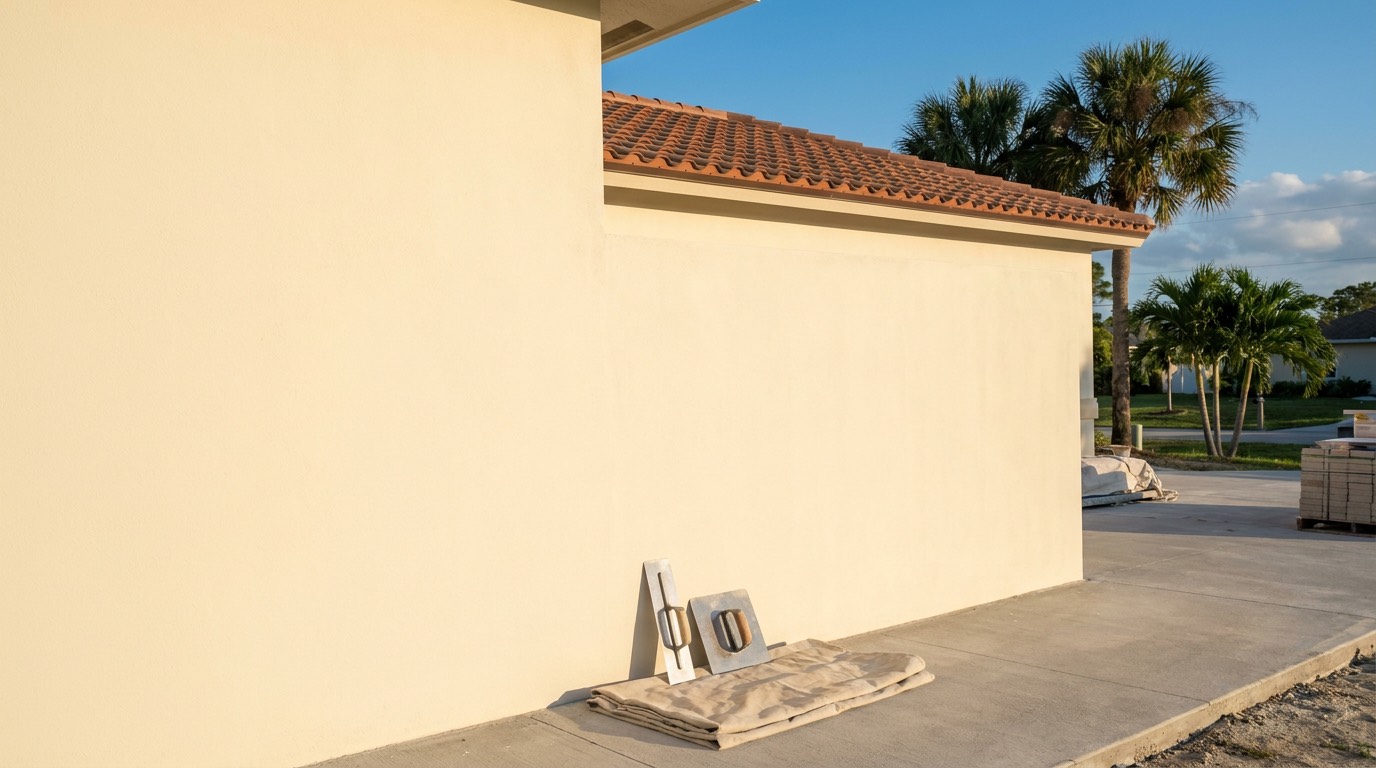
A small job with a narrow list of candidates
This is one of the few exterior repairs a homeowner can genuinely do well. It is also one of the easiest to do in a way that looks worse than the crack did, or that hides something you needed to see.
So the first half of this job is deciding whether to do it at all. The second half is prep, and in this climate prep mostly means drying. The actual filling takes about four minutes per crack and is the part people worry about most, which is backwards.
Nothing here applies to a wall you have to reach from an extension ladder, and nothing here substitutes for a repair when the crack is telling you something structural. The whole point of doing it yourself is that the job was small to begin with.
Which cracks are candidates, and what your house is made of
A candidate crack is hairline to about a sixteenth of an inch, sits in the flat field of a wall, has clean dry edges, and sounds solid when you knuckle the plaster either side of it. It has been the same for at least six months, which you know because you photographed it with a coin beside it and the date is on the file.
The ones that are not candidates are just as easy to spot. Anything wide enough to swallow a fingernail. Anything with rust or dark staining bleeding out of it. Anything where one side stands proud of the other under a flat palm. Anything running out of a window or door corner, since that comes with sealant and flashing work you cannot see from outside.
Then there is the one that catches people out on newer houses, and it is worth knowing which kind of house you own. Uniform block construction of the sort that fills St. Lucie West, Tradition and most Port St. Lucie subdivisions has control joints designed into the wall. A perfectly straight line of consistent width, running floor to roof or corner to corner, is almost certainly one of those rather than a crack, and filling it solid takes away movement the wall was given and pushes the cracking somewhere you like less.
Older housing in Fort Pierce and Stuart is a different animal. A good share of it is stucco over wire lath on frame, and the cracking follows the framing behind it, so you get regularly spaced vertical lines or a diagonal running off an opening. Photograph those and watch them rather than filling on first sight, because the pattern is telling you where the movement is. On any house, a crack that came back after somebody already patched it is telling you the cause was never dealt with.
- Yes: hairline, dry, stable, mid wall, solid sound either side
- Yes: fine map cracking across a wall field, if you are about to repaint anyway
- No: anything a fingernail catches in
- No: rust or dark staining at the crack
- No: hollow sound, bulging, or one side sitting higher than the other
- No: a straight, even width line that is actually a control joint
- Watch first: regular vertical lines on a framed wall, which are following the studs
Want a price for your own wall?
Four quick questions and we come back with a written quote. Or call (772) 251-6654 if that is faster.
Request a quote
Four questions, about a minute. We'll call you back.
What to buy, and what to leave on the shelf
You want an elastomeric patching compound made for stucco and masonry. It goes on like a thick paste, it stays flexible after it cures, and it takes paint. Most brands sell it in a small pail and a tube, and many offer a sanded or textured version that helps on a slightly wider line.
That flexibility is the whole point, and it matters more here than in a mild climate. A wall in Port St. Lucie takes a hot afternoon and then a storm that drops the surface temperature sharply in minutes, and it does that repeatedly through the wet season. A filler that cures rigid cracks straight down the middle of your repair the first time the wall does it. Which is why a straight cement patching mix, the right product for a chunk out of a wall, is the wrong one for a hairline.
Leave the silicone alone entirely. It does not take paint, which on an exterior wall ends the conversation. Leave interior painter's caulk alone too, since it will not survive a season of this sun.
Why caulk in the middle of a wall reads badly
Almost every homeowner crack repair that looks bad from the driveway is caulk. It happens because caulk is easy, cheap and already in the garage.
The trouble is what caulk is designed to do. It fills a joint between two surfaces and sits proud, with a smooth skin. In a joint, where there is a shadow line, you never notice. In the middle of a textured wall that smooth raised bead reads as a shiny snake across a rough field. It holds a different sheen, it collects dust so it darkens at a different rate, and paint sits on it differently.
Caulk still has a place on your house, just not there. It belongs at window and door perimeters, at hose bibs and vents, at the joint where a screen enclosure meets the wall, and anywhere two different materials meet. Those joints are worth more of your attention than the field cracks are, because that is where wind-driven rain actually gets in. Field cracks get a patching compound worked into them, not a bead laid over the top.
Prep is most of the job, and drying is most of the prep
Start by opening and cleaning the crack. A stiff nylon brush and the corner of a putty knife take out loose material and chalky old paint from the edges. If the crack is at the wider end of the range, drawing a can opener or a crack chaser along it to make a shallow V gives the patch something to hold. For true hairlines you are cleaning rather than cutting.
Then wash the area, and here is the step people skip. Let it dry properly. Cement plaster on block holds a lot of water and gives it back slowly, and the humidity here does not help. In the drier months a day of sun is usually enough. In the wet season, when it rains most afternoons and the wall never fully dries between them, give it two or three dry days and check inside the crack rather than the surface around it. Patching a damp crack is how you get a patch that releases in a season.
That is the argument for doing this work between roughly November and April. The wall dries faster, you get a full working day instead of a morning, and nothing you apply is racing an afternoon storm. There is no freeze coming either, so if the forecast turns there is no cost to waiting a week.
If you do work through the summer, watch the radar as closely as you watch the wall. Material applied two hours before a storm has not set, and a downpour on a fresh patch washes the surface open and leaves you doing it twice.
- Brush the crack out and knock back any loose paint at the edges
- Wash, then let the wall dry a full day in the dry season and longer in the wet one
- Check the inside of the crack for damp, not just the face of the wall
- Mask the surrounding area if you want a crisp working edge
- Work early and on the shaded elevation whenever the sun is strong
- Do not start if rain is coming within a few hours
Applying it, and how far texture matching goes
Press the compound into the crack rather than smearing it along the surface. Work across the line with a flexible putty knife or a gloved fingertip so the material is driven in, then take the excess back off. The goal is a filled crack, not a raised ridge.
It will shrink as it cures, so expect a second pass a day later on anything but the finest lines. While the material is still soft, stipple the surface with a damp sponge, a stiff brush or a crumpled rag to break up the smoothness. On a sand finish this works well. On the knockdown and lace finishes that cover most houses on the Treasure Coast it gets you into the neighborhood and no further.
Be honest about the result. A patch you can find is normal, and a patch nobody notices from ten feet away is a genuine success. The reliable way to make repairs disappear is not better technique on the patch. It is coating the whole elevation afterwards. So fix cracks in the cooler months and put the coating on before the summer rain arrives, which lets the new finish carry the repairs and gives it settled weather to cure in.
When to stop and call
Stop when the wall surprises you. If the putty knife goes further in than you expected, if material crumbles out around the crack, if you hit hollow sound while cleaning, or if the inside of the crack is damp on a dry day, put the tools down. You have found something that is not a surface repair, and filling it only makes it invisible until it is expensive.
Rust is the clearest stop signal, and a common one along this coast. Orange bleed out of a crack means metal inside the wall is corroding and swelling, and it will reopen the line through anything you put in it. Salt air carries a long way in from the ocean and off the Indian River Lagoon, so corner bead and lath corrode sooner on houses in Vero Beach, Sebastian and along the barrier island than out toward Okeechobee. That repair means opening the wall, replacing the metal and closing it back up.
The last one is honesty about height and count. Second floor work over a pool deck is not a homeowner job, and neither is a list that has grown past a dozen cracks across three elevations. That is a wall project rather than a repair, and pricing it properly alongside a coating is usually the cheaper path anyway. Take photographs in morning light, note which elevation each came from, and get somebody to sound the wall before you buy another tube.
Related questions
What product should I use on hairline stucco cracks?
An elastomeric patching compound made for stucco and masonry, which stays flexible and accepts paint. Skip silicone, since it will not take a coating. Skip rigid cement patch on hairlines, because it splits down the middle of your own repair the first hot week after you apply it.
What time of year is best for doing this myself?
The drier months from about November through April are easier in every way. The wall dries faster after washing, you get a full working day rather than a morning, and no afternoon storm is going to land on fresh material. Summer work is possible if you start early, follow the shade and watch the radar, but the prep takes longer because the wall holds moisture.
Do I have to paint over the patch?
Yes, if you want it to blend and last. Most patching compounds are not made to sit exposed for years in this sun. At minimum, spot prime and paint the repair in your existing color. It will still be findable up close, which is why homeowners often do their crack work in the year before a full repaint.
How long will a DIY crack seal last?
On a stable hairline that was cleaned, filled properly and painted, several years is reasonable, and it usually just gets absorbed into your next coating cycle. On a crack that is still moving, expect it back in a season regardless of what you filled it with. The product is rarely the thing that failed.
My patch cracked again in the same line. What went wrong?
Most often nothing you did. A crack that returns in the same place is being driven by something behind it, whether that is movement in the wall, corroding metal, or water coming in higher up. Filling it a second time buys a second failure. That is the point to have somebody sound the wall around it and find the cause.
Is it worth sealing cracks before a home inspection?
Cleaning up genuine hairline cracking is fine and reasonable. Filling something that is bulging, hollow or rust stained is not, and an inspector who taps walls will find it anyway, which turns a repairable item into a credibility problem. Fix what is honestly cosmetic and disclose the rest.
More guides
All guides → Maintenance
What Sprinkler Overspray Does to Your Stucco
A head that clips the wall three mornings a week does more damage over five years than any storm does in a season. Start by reading the color of the band it leaves.
Read Diagnosis
Why Stucco Color Fades on the Treasure Coast
Three different things get called faded stucco, and only one of them needs new color on the wall. Where your house sits, and which way the wall faces, usually tells you which one you have.
Read Hiring
Warning Signs When Hiring for Stucco Work
None of these prove anybody is dishonest. They are patterns that turn up often enough on the Treasure Coast to be worth a pause, and each one has a check you can finish in a few minutes.
Read Local guide
Stucco Work in Hobe Sound: Estate Homes and Older Cottages
Hobe Sound is two housing markets under one name. A custom home with a hand applied finish and a 1960s cottage need very different stucco work, and very different pricing.
Read Storm season
Stucco Damage and Insurance Claims: What to Document
We are stucco contractors, not insurance advisers. What we can explain is how a wall gets recorded properly here, because a soaked block wall photographed on the wrong day tells the wrong story to everyone.
ReadStraight answer on your wall.
Call, or send the form and we will get you a written price.